

Headset adjustment
Adjusting your headset is a simple procedure that will help your braking and potentially save you money, writes Stephen Huntley.
Hidden inside the tube that connects your fork to your handlebars (the head tube) are two sets of ball bearings and their accompanying components that combined make up what is known as the headset.
The headset ensures your handlebars and fork turn smoothly and easily, which is vital for precise steering and bike balance. This may not seem like an overly onerous job, but much of your weight is transferred down to the forks and wheels through the headset bearings, and so they’re often under a big load.
The bearings must also keep the top tube of the fork, known as the steerer tube, relatively snug and free of play within the head tube, or else when you brake there’ll be lots of shuddering, which can impair stopping performance and potentially damage the frame.
You should regularly check the play in your headset for looseness, and tighten if necessary. It is a very simple job to do, will take only a few minutes of your time, and can save you money; if bearing components have become pitted and damaged due to poor adjustment, they will need replacing with specialist tools – a bike-shop repair job.
Headset types
Headsets come in two basic types; threaded and threadless.
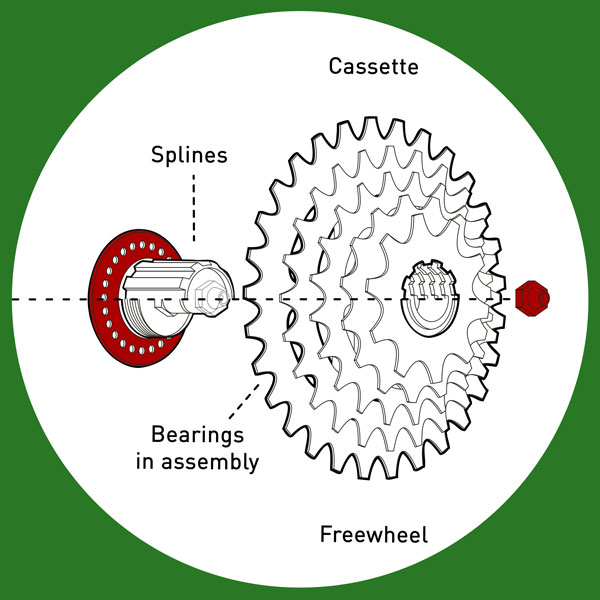
They both have two sets of well-greased ball bearings, one at the bottom and one at the top of the head tube. Each set is enclosed by a top and bottom ‘race’ that holds them snugly in place and act as the contact surface for the ball bearings’ rolling movement.
Most new bikes have a threadless headset (sometimes referred to as an A-headset), where the handlebar stem is pressed down the steerer tube, then bolted into place to hold the bearings snugly in place.

More old fashioned but still commonly seen on older bikes, some new bikes, and in many kids’ bikes, is the threaded headset, where a bearing race is screwed down the steerer tube until it connects with the top bearings just enough to hold them in place.
This race is kept in position by a locknut that is also screwed down the steerer tube.
Threadless headsets are easier to adjust (requiring only an Allen key), are lighter, and make fork manufacturing a bit simpler. They also add a more rigid link between the handlebars and the fork.
Test time
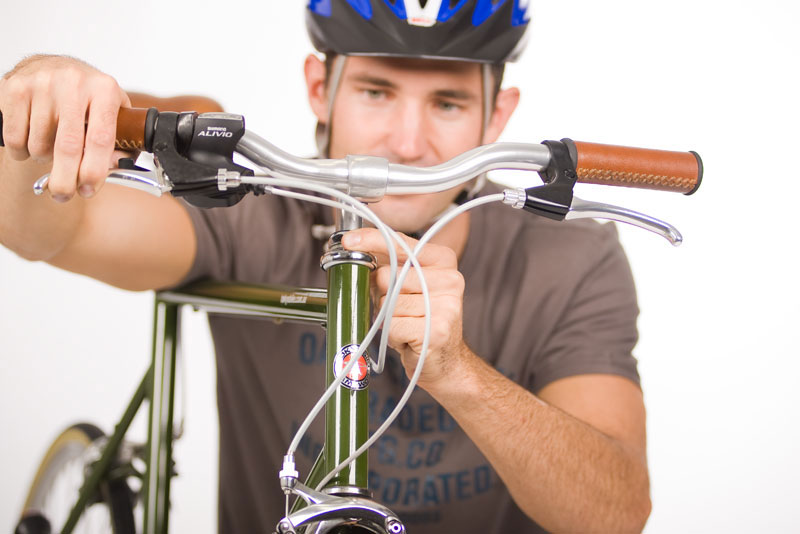
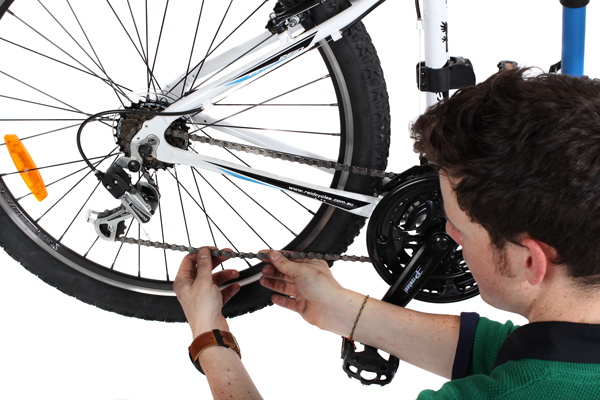
A simple check for too much headset play is to get behind the handlebars, push down on them while tightly applying the front brake, and rock the front wheel backwards and forwards. If there is movement in the forks, a sort of knocking sensation, it will most likely be caused by a loose headset, but poorly adjusted brakes might also be to blame.
To make sure it is the headset that needs tightening, do the same test as above but with the front wheel turned 90 degrees. If you can still feel knocking, the headset needs your attention.
Threadless play
To reduce play in a threadless headset, the only tool you’ll need is an Allen key.
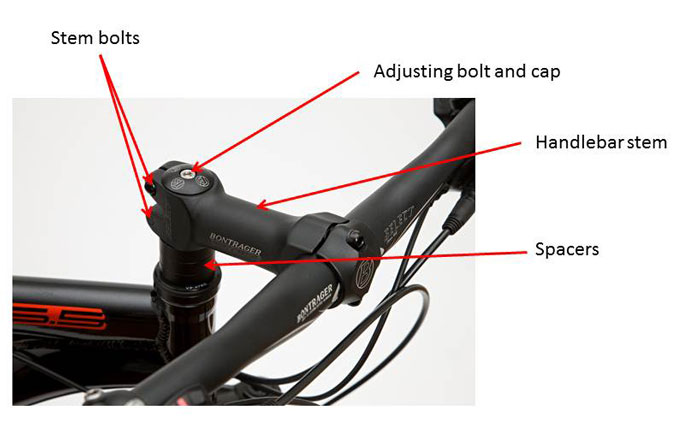
At the crown of the handlebar stem you’ll see a bolt inside a small cap. Loosen the bolt off (anti-clockwise turns) and remove it and the cap. Lubricate the bolt with grease if necessary and then replace it and the top cap, turning the bolt by hand only; do not tighten.

Now loosen off the bolts that clamp the handlebar stem onto the fork steerer tube (anti-clockwise turns as you face the bolt head). Remove the bolts, inspect and lube if necessary, then replace them by hand only; do not tighten.
Straddle the front wheel facing the handlebar, lock the wheel in place between your legs, then use the handlebar to try and rotate the stem around the steerer tube. If it won’t rotate freely because the steerer tube and stem have seized together, you’ll need to get your bike shop to separate them.
Remain in this position and align the handlebar and its stem with the front wheel. Tighten the stem cap bolt (clockwise turns), but stop as soon as you feel any resistance. Now tighten the stem bolts.
Repeat the check you initially made to identify bearing play. It is likely that initially there will still be some movement. Loosen off the stem bolts, then tighten the top cap bolt by an eighth of a turn clockwise. Retighten the stem bolts and test again.
Repeat this process until there is no play in the bearings, but don’t over tighten; the handlebar and fork must still turn smoothly and easily, with no notchiness.
Note that it is the top cap and bolt that initially squeezes the components together to tighten the bearing pressure, but it is the stem bolts that lock and hold that pressure in place. Once the stem bolts have been secured, you can do what you like with the top cap and bolt, but it won’t affect the bearings’ pressure.

Threaded play
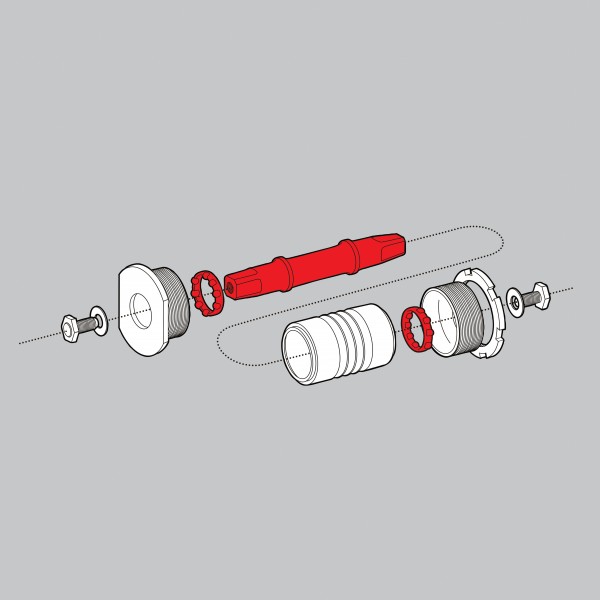
To adjust the play in a threaded headset you should first loosen off the pressure on the bearings by unscrewing the locknut that holds everything in place, then backing off on the bearing race (see illustration).
Some races need a headset spanner to hold them in place as you loosen or tighten their locknut with a large adjustable spanner, while another style of race has a simple finger thread to grip it by.
Loosen off the locknut (anti-clockwise) while holding the bearing race in position. Now loosen off the bearing race a half a turn anti-clockwise, then screw it back down again until you feel it hitting the ball bearings. Back off a quarter of a turn, hold the race in place, then tighten the locknut.
Do your check for bearing play; it is likely to still be a bit loose at this setting. Back off on the lock nut and tighten the race (clockwise) a tiny amount, then tighten the lock ring back in place and test again.
Repeat this step until the play has been removed, but be careful not to over tighten; the handlebars and forks should be able to move easily, without any feeling of tightness or notchiness.
Seeking help
If you don’t have a front mudguard and ride in the wet, a lot of water and muck can be thrown up at the bearings at the bottom of the head tube, which may mean they need cleaned and greased.
You’ll know this is a potential problem if, despite all your careful adjustments, you can’t take up all the play in the bearings without them feeling tight and grippy. When faced with this situation, hand the job over to your bike shop; they will be able to check your bearings, and clean and replace parts if necessary.
Ride On content is editorially independent, but is supported financially by members of Bicycle Network. If you enjoy our articles and want to support the future publication of high-quality content, please consider helping out by becoming a member.
How do you know what height to set it at ?