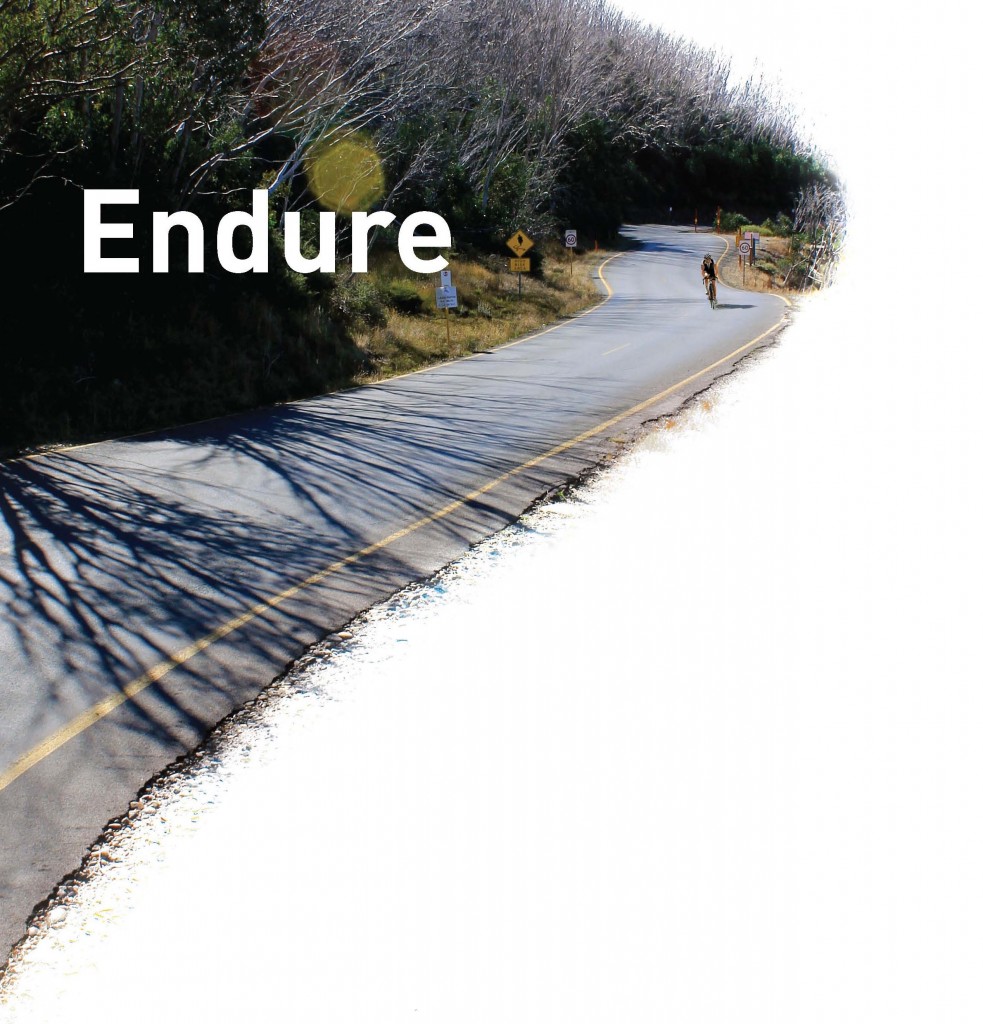
Endure
The demands of endurance riding are immense, but with the right preparation you’ll be up for the task, explains Iain Treloar.
Your legs are weary. You feel every bump through the saddle as your sit-bones protest. Your shoulders burn. The tarmac stretches ahead of you to the horizon, and with each pedal stroke you are more acutely aware that you have been on the bike a very, very long time. But you keep going, exploring that exquisite junction between fatigue and transcendence that comes from pushing to your limits, and beyond.
Endurance riding is encapsulated in this moment—the point at which your body tells you that riding any further is impossible, but you muster the resolve to do it anyway.
When you’re extending yourself to a new limit with your riding, you can’t know for sure how your body will respond to the demands placed on it, but you can control a lot of the variables. With so much to consider, there’s no such thing as being overprepared. Regardless of whether you’re planning a cross-continental tour, tackling an event like Bupa Around the Bay – Ride for a Child in Need, following a rail trail from end to end or signing up for a gruelling one-day ride like Peaks Challenge Falls Creek, these are the factors that will make your time in the saddle as pleasant as possible.
Preparation, preparation, preparation
The first step in getting your adventure under way is identifying exactly what your goal is. For a mass-participation event, the distance will be predetermined, so focus on a time target—the organisers will take care of the rest for you. If you’re heading for the horizon on an epic solo ride, identify the distance you will travel each day, the best route to take, placement of food and water stops and likely weather conditions you might encounter.
Set attainable goals. If you head into an Audax ride or event like Peaks Challenge Falls Creek with limited preparation, there’s no benefit in aiming for an overly ambitious time; failing to make the time you were aiming for will leave you disappointed, even if you successfully complete the ride. Honestly assess your form, base your preparation off a steady progression rather than an abrupt escalation, and find reward in the journey, not just the big day itself.
Training
It goes without saying that training is a vital part of preparing for an event like Peaks Challenge Falls Creek. For riders keen to tackle the event in 2015, there are free training programs provided by CyclingInform, available at bit.ly/1vZjB0t, which will help you gauge your condition and plan your riding ahead of time. These training guides may also be of assistance for equivalent solo rides.
If there’s going to be a substantial increase in the amount of riding that you’ll be doing, it’s important to have some serious conversations with those near and dear to you, so that everyone is on the same page about how your schedule may change.
This negotiation is made more complex if you have children or work very long hours. Be realistic about what a change in training volume will look like, and how it will impact on others; underestimating this might have significant consequences for your ability to successfully achieve your goal.
Training volume will vary, depending on your starting condition and constraints on your time. The key is consistency, rather than fewer—but longer—rides. In a typical week, if you can fit in some structured sessions on an indoor trainer, a couple of morning rides and a longer ride on the weekend, you’re likely to be in pretty good shape by the time the ride rolls around. Keep in mind, however, that you should train for the rigours of the route you’ll be attempting—heavily focusing your training on a flat course like Beach Road won’t be much help for a mountainous ride like Peaks Challenge Falls Creek. On the plus side, this presents the perfect opportunity to explore off the beaten track for hilly quieter roads.
There are several theories on how to approach longer endurance training sessions. One commonly-cited approach is to train up to 60% of the ride distance, the idea being that you’ll be able to push yourself the remaining 40% in the excitement of the day. I don’t subscribe to this; if I hadn’t completed a 200+km ride with equivalent climbing in training before riding Peaks Challenge Falls Creek, I would have struggled with pacing on the big day, and lacked valuable self-confidence.
Stretching and strengthening
As your training ramps up, your body is placed under increasing strain. Stretching and strengthening your core will reduce the discomfort that may result from your time on the bike, and how quickly it sets in. Symptoms differ from rider to rider, but the most common issues for road riders centre around the iliotibial band (ITB), glutes and back. The ITB is a tendon running down the outside of the leg, from the knee to the hip, and can become inflamed with a sudden escalation in activity. Symptoms range from a feeling of tightness, usually on the outside of the knee, to pain down the outside of the thigh, in turn triggering tightness in the glutes. One of the most effective at-home remedies for ITB discomfort is a foam roller. For a range of stretches, see our article, ‘Untangle muscle tension’.
Localised cycling injuries often cause a flow-on effect in other areas, as the body compensates for a weakness by increasing the load elsewhere. Tight glutes, for instance, can be eased by placing the body’s weight on a tennis or golf ball, to help force the muscle to release. Back discomfort can be alleviated with core strengthening exercises—a strong core is a valuable asset to improving your ability to handle being on the bike for extended periods. Discover some exercises in our article, ‘Building core strength’.
If you struggle with serious or continuing discomfort, talk to a medical practitioner to determine the best course of action for your specific needs.
Bike
If your bike isn’t up to the specific demands of the terrain, you may quickly find your quest halted by factors beyond your immediate control, which is a particularly cruel and disappointing way of undoing all your hard work.
Months out from the ride, having done some training on equivalent terrain where you’ll be able to gauge your form and the way the bike feels after an extended period riding, perform a realistic assessment of its readiness for the task. Check whether there are any components that are reaching the end of their lifespan, and replace them early enough that they’ll have time to bed in, but not so early that they’ll wear out beforehand. If there are a number of things that need replacing and the cost of repair steeply escalates, or if your bike is profoundly uncomfortable or unsuitable for the task, it’s worth looking at whether a new bike may be a more economical option in the long run.
For a ride of epic proportions, the most important piece of bike-related advice I’d offer is to skew toward comfort rather than speed or absolute lightest weight. Although there may be
a slight penalty in average speed, you’ll be able to keep riding for an extended period whereas an aggressive road bike set up with a race-oriented position and high gearing may see you grinding to an exhausted premature halt.
Gear ratios
On a course with a hefty amount of climbing and some harrowing gradients, having conservatively low gears is a sensible decision—it’s better to have a low gear that you don’t have to use rather than a too-high one that you wish was lower. For Peaks Challenge Falls Creek, I opted for a wide-range 11-32t cassette and medium-cage rear derailleur, paired with a compact 50/34t crankset, allowing a 14.7% lower climbing gear in the oft-used lowest range than if I’d stayed with a 39t small ring. For me, this meant that it was possible to keep pedalling at a relatively comfortable cadence on the back of Falls Creek, after 200km in the saddle.
Tyres
While seemingly innocuous, tyre pressure and width is a surprisingly contentious issue. For many years, road riders have relied on 700x23c tyres, and although these are commonly specced on new bikes there is a growing trend—in professional and amateur cycling alike—toward wider tyres. Testing consistently shows that, somewhat counter intuitively, a wider tyre at lower pressures actually rolls faster. The reasoning behind this is that the contact patch (amount of tyre touching the ground) is wider but shorter on a 700x25c, leading to a lower overall rolling resistance compared to the long and thin contact patch on a 700x23c.There’s an added benefit to this—a lower tyre pressure conforms to the ground better, improving grip and handling, whilst reducing jolts and fatigue-inducing vibration.
Bars
It’s worth experimenting to get this component right. It’s one of two contact points you have with the bike, and a comfortable bar makes an enormous difference at the end of a long day. If you’re not overly flexible, a shallow drop is useful. Pair a well-shaped bar with gel-padding under your bar tape of preference for extra comfort through the hands and wrists on rough roads.
Two bottle cages
The weight penalty of carrying a spare bottle and cage is always preferable to dehydration, particularly in hot weather or if there’s a long distance between filling stations.
Most of these choices are not based on fashion or what the professionals use, but there’s a reason for that—their bodies are finely honed, flexible and strong organisms that have adapted to the demands of a race bike with race gearing. If you’re a rider of less lofty ability, don’t be swayed by the trends for a slammed stem or massive gearing—think outside the square in terms of these choices, focus on a happy medium of comfort and performance, and you’ll be just fine. Discover what works for you; don’t base your choices on glossy ideals or what the bike comes specced with.
Fit
Your body takes time to adapt to a new position, and it’s important to start settling on your fit a few months out from a major ride to allow time—in the worst case scenario—to source and adapt to a new bike if the fit issue is insurmountable. Note that as your body habituates to a new position and a changed training load, minor tweaks might be necessary.
My bike fit guru of choice, Neill Stanbury, points out that there’s no hard and fast rule, as “habituation time differs significantly between riders”. However, a long lead-time gives breathing space for tweaks to be made and unforeseen issues to be addressed. “I would recommend at least four weeks—and preferably six—in a new position before being confident of your ability to ride in that position without problems on a long, sportive type event,” Stanbury says.
Nutrition
There’s an old sporting adage that goes: “eat when you’re not hungry, drink when you’re not thirsty”. This is the most succinct way of ensuring you’re adequately prepared to get through the demands of an endurance ride. But there’s more to it than just shovelling food and water into your mouth.
As the strain on your body is significantly increased during a lengthy bike ride, your stomach may react in unpredictable ways. For this reason it’s smart to familiarise yourself with the products that you’re likely to use during the ride, rather than experimenting late in the piece and potentially undoing all your hard work.
Case in point: on the lead-up to Peaks Challenge Falls Creek, I made sure I was using Hydralyte, a sports drink provided on the ride. The most commonly available sports drinks (Powerade, Gatorade, etc.) have a far higher sugar content, making the saltier Hydralyte less immediately palatable. If I’d first been drinking Hydralyte for the first time on the day, it’s likely that I’d have ended the ride dehydrated, because I wouldn’t have had a chance to become accustomed to the difference in flavour.
Food is vital fuel for a rider, and it’s important to train to eat. In the heat of the moment, with the excitement of finally getting under way on what you’ve been training so hard for, it’s easy to forget to eat and drink regularly. Make eating and drinking enough a conscious decision rather than an afterthought. If you’re not confident that you’ll remember, set cues for yourself; one rider I spoke to had programmed his Garmin to set off an alarm every 30 minutes as a reminder to eat and drink.
Avoid the temptation to shuffle up your diet too dramatically in the days before your ride. One of my less pleasant moments on Peaks Challenge Falls Creek was a daft decision to experiment with beetroot juice the morning of the ride. Although it’s been (inconclusively) proven to enhance absorption of oxygen after drinking, it tastes like soil and its urine-discolouring properties made for some worrying toilet stops along the way.
Clothing
Depending on the particular demands of the ride that you are taking on—and even the carrying capacity of your bike—your clothing needs will vary. On Peaks Challenge Falls Creek, you have the option of a valet bag to transport a change of clothes to the lunch rest area—a great feature of the ride, as it means that
you can ditch any extra layers that you don’t need once you’ve warmed up.
If you’re riding an unsupported multi-day solo ride, you’ll need to take extra precautions to ensure that all your clothing needs are catered for, although if you’re carrying panniers you’ll at least have somewhere to stash any excess clothing. In this scenario, a thicker jacket—no problem. Throw in some extras like full-fingered gloves as well, just in case there’s a sudden change in weather.
A quality pair of bib-knicks is an important investment. The padding in shorts varies in thickness from brand to brand; although a thicker chamois may feel a little bulky, if you’re going to be sitting for an entire day it’s a wise move. If you haven’t previously thought that chamois cream is for you, now’s the time to break it out and give it a go—applied either directly to the padding or the skin, it helps reduce friction and slows the development of saddle sores.
A merino undershirt is a wise building block for your upper half. Synthetic undershirts are less effective at keeping you warm in changeable conditions and if you’re riding a long, single-day (or multi-day) ride, they get a lot smellier. Pair this with a comfortable jersey with ample depth in the rear pockets to store all the food and spare clothing you’ll need, and add a lightweight, windproof vest and some arm warmers to handle cold starts and sudden shifts in weather.
Ready to roll
Start thinking about what you need to do now, and one of the greatest riding experiences of your life is within grasp. If you’ve been diligent in your preparation and ticked all the boxes along the way, all you need to do on the day of your ride is get on the bike and ride. And ride some more. Keep chipping away, and finally get off the bike and say, I did that.
Ride On content is editorially independent, but is supported financially by members of Bicycle Network. If you enjoy our articles and want to support the future publication of high-quality content, please consider helping out by becoming a member.