

Bike 101: The Simple Guide To Cleaning Your Cassette & Chain
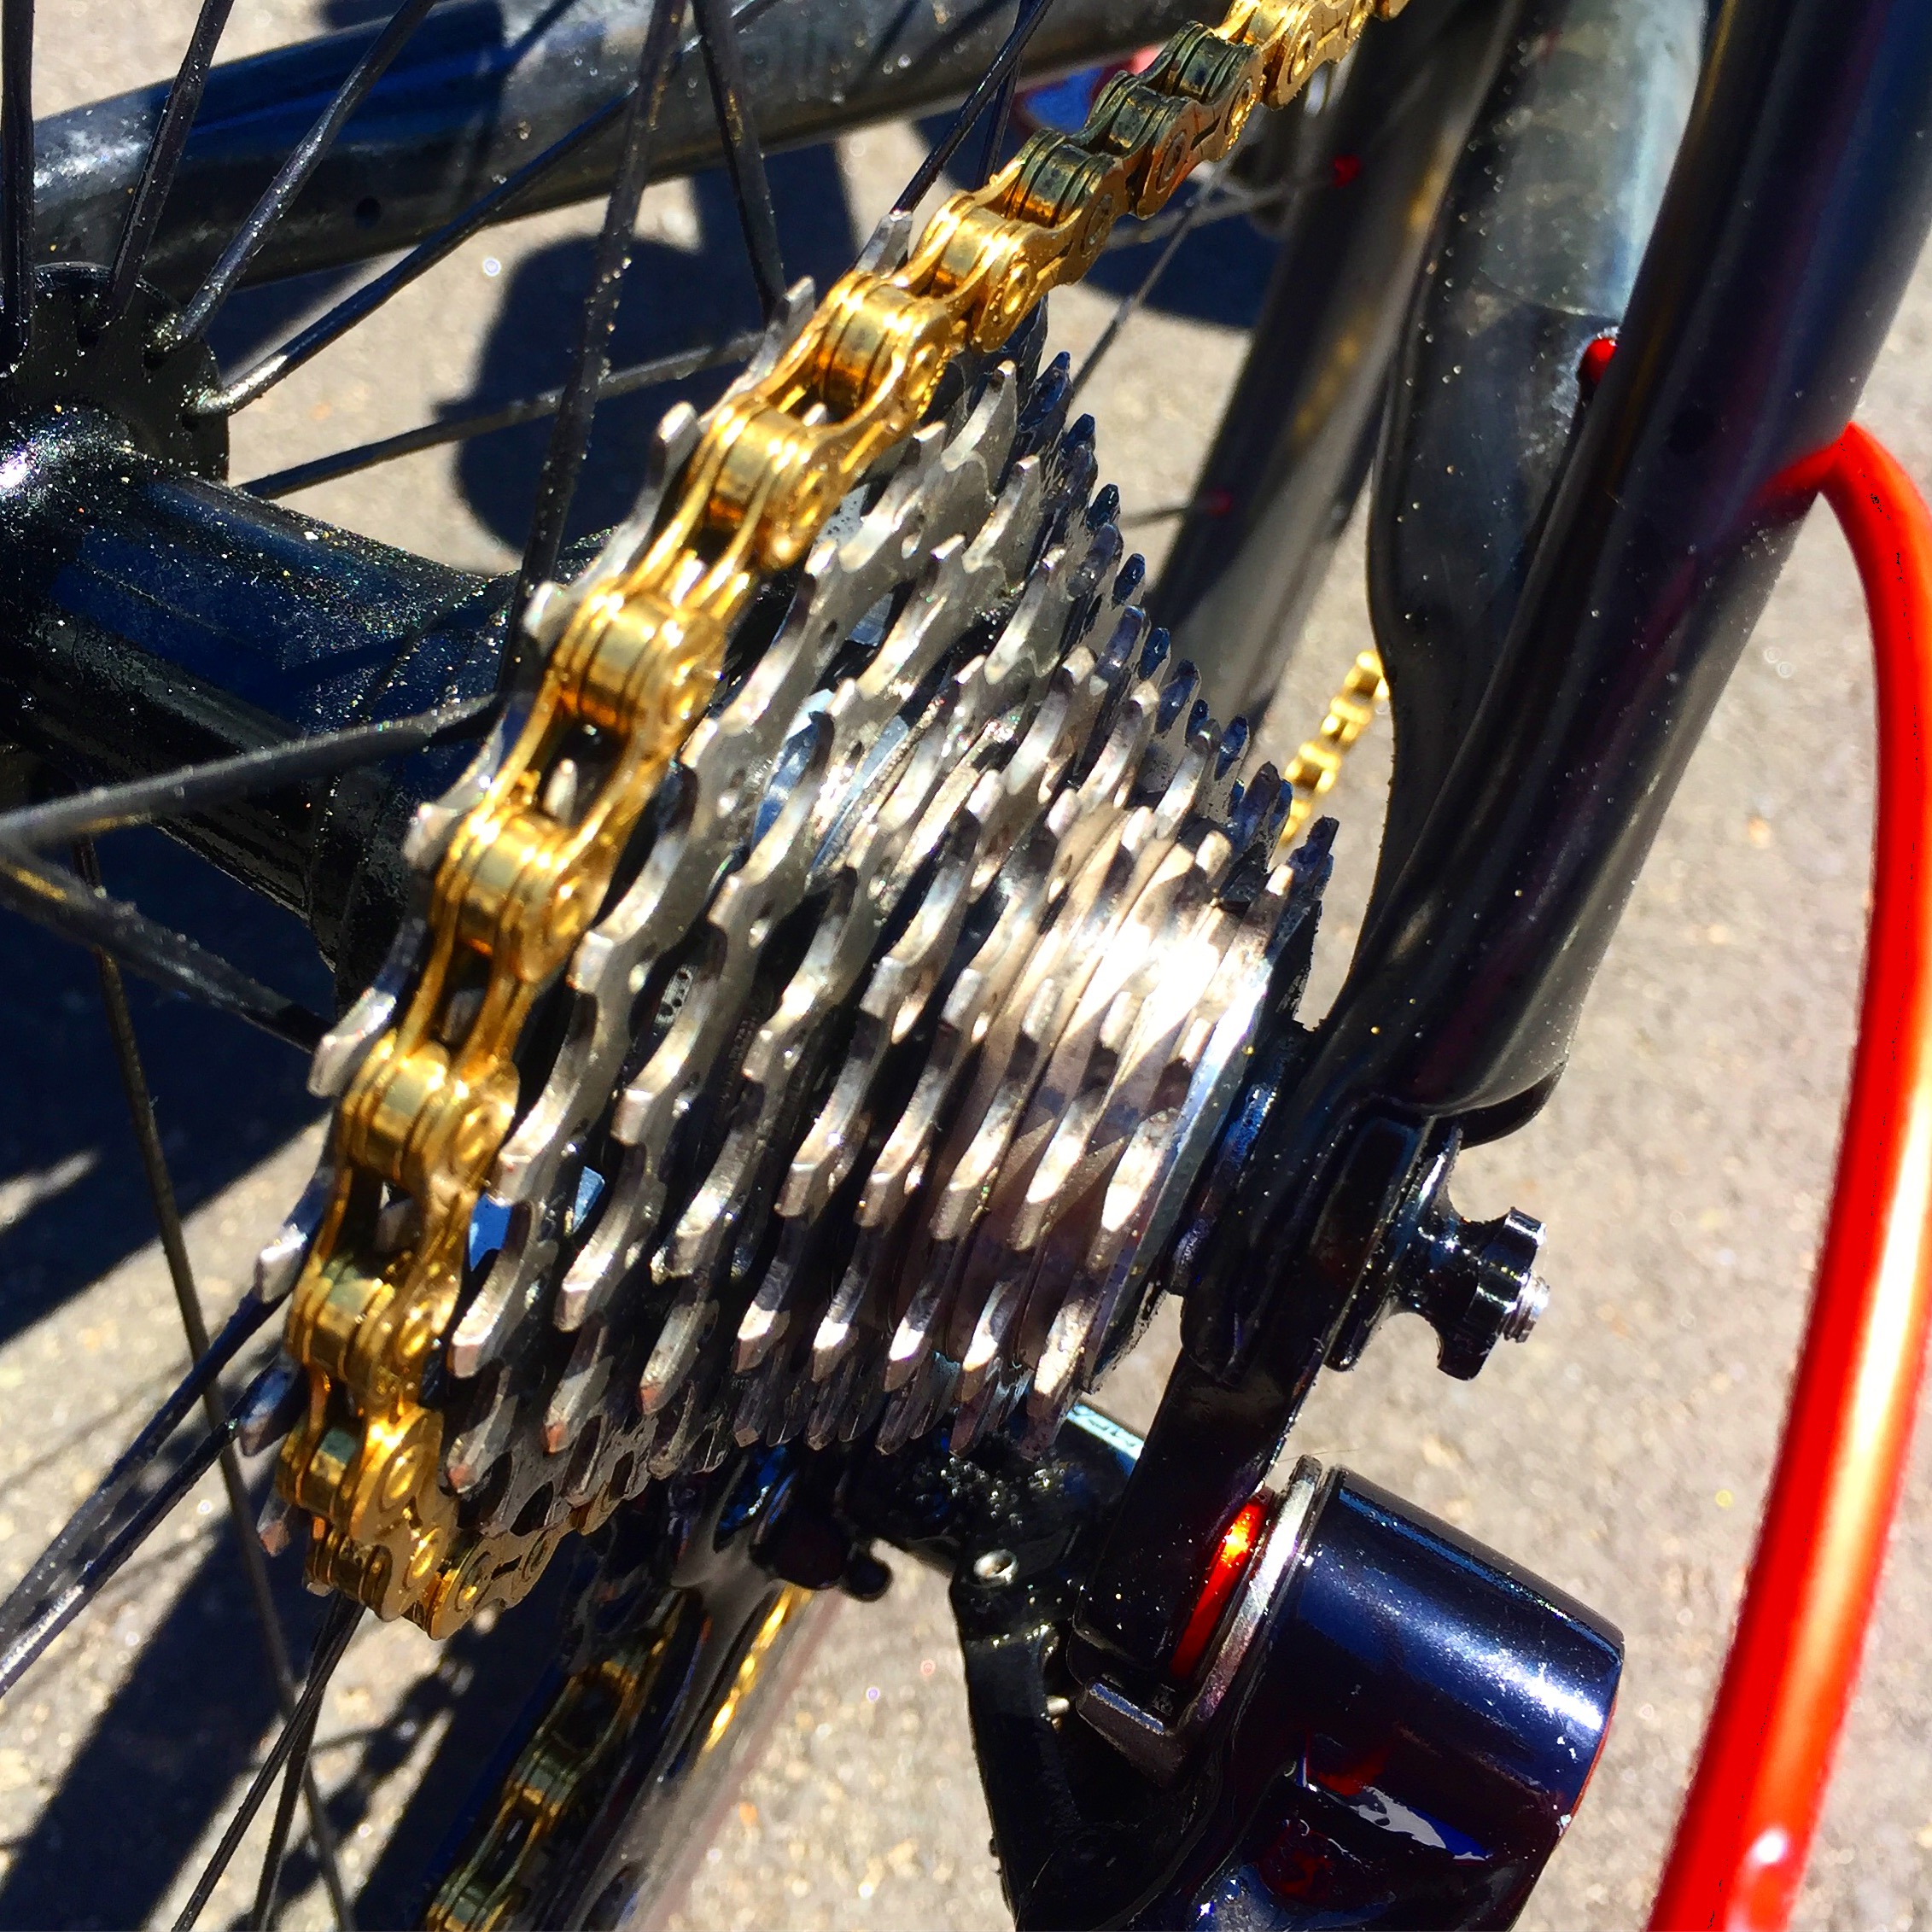
Prevention is better than a cure, and the best way to reduce wear on your drivetrain is by keeping it clean, as we explain here.
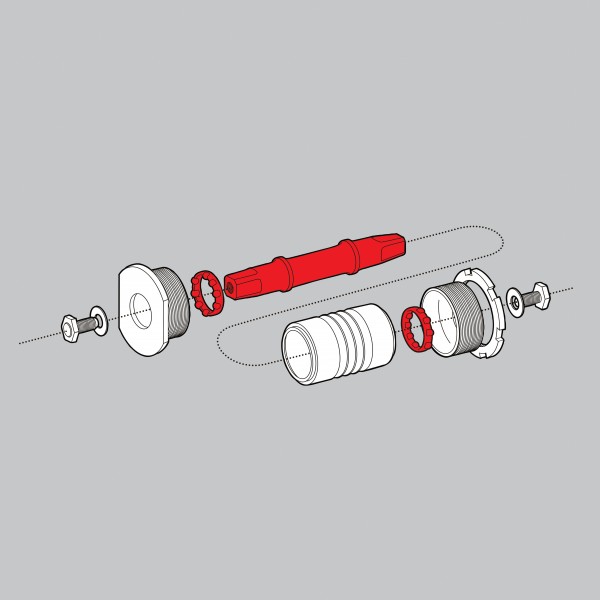
First up, there are a couple of tools required for this important but often overlooked job, so we’d suggest adding those pictured above to your arsenal if you haven’t already.
First step is to remove the chain. If you’ve not got a quick-link fitted, we’d heartily recommend it. They cost between $5 and $10, and are made by brands including Wipperman, KMC and SRAM. SRAM and KMC chains are already equipped with these, but Shimano and Campagnolo use joining pins, which require a chainbreaker and replacement pin once you’re done.

Note that chainbreakers may be size and brand-specific; an 11-speed Campagnolo chain, for instance, will only be able to be taken apart with an 11-speed Campagnolo chainbreaker.
Assuming you have a quick-link fitted, the process of cleaning the chain is as follows:
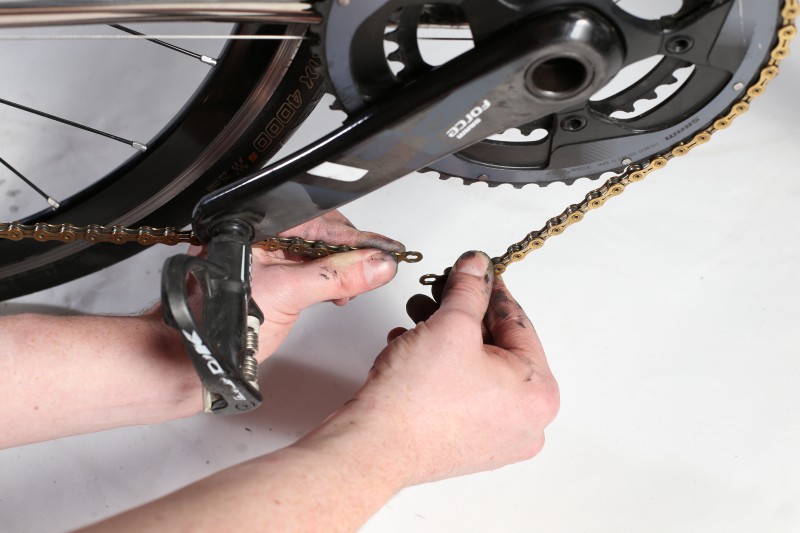
1. Break the chain.
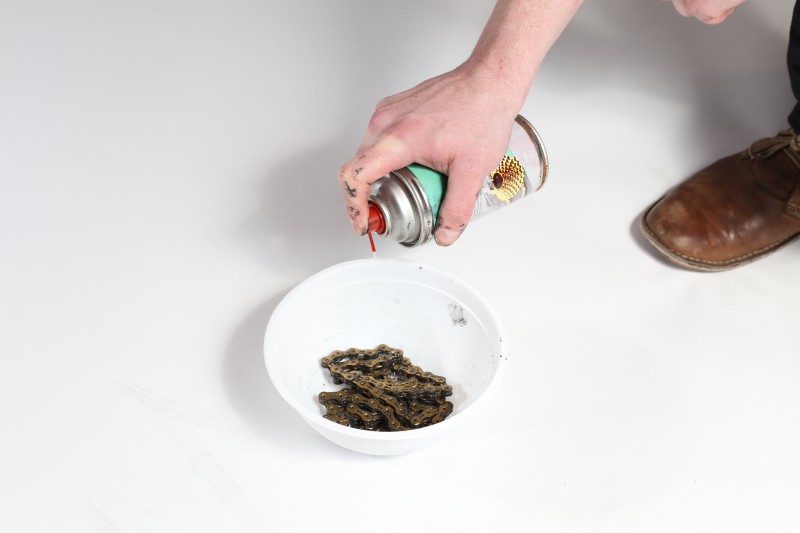
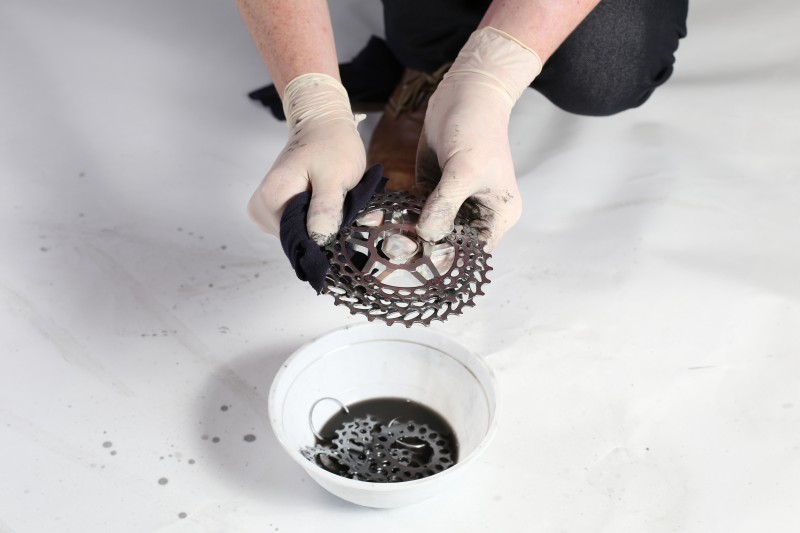
2. Place in a container.
Spray liberally with degreaser and leave to sit.
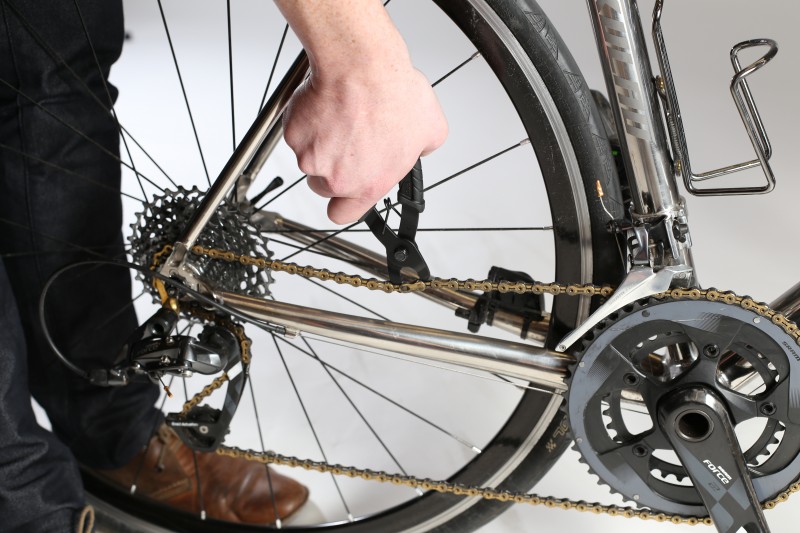
3. Whilst the chain is sitting, remove the rear wheel.
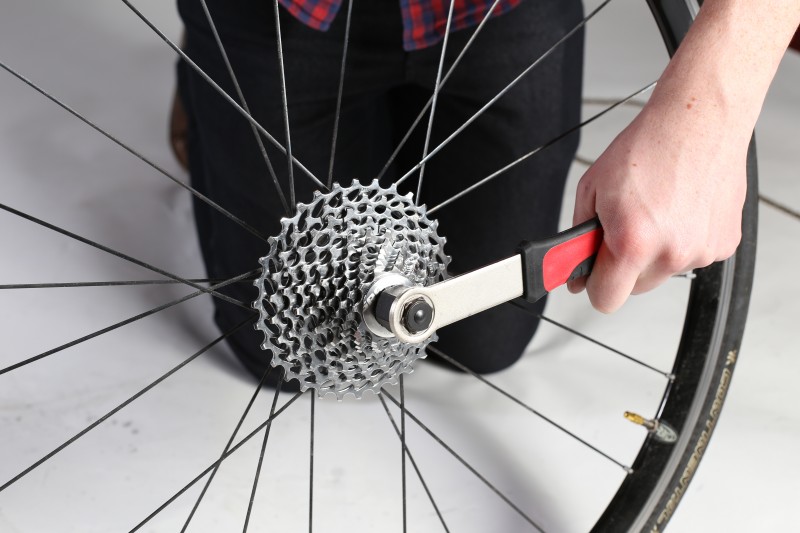
Remove the quick release skewer. Set the chain whip on the cassette. Around the middle of the cassette will give you a good wrap to hold the cassette in place. Insert the lockring removal tool. Note: Shimano and SRAM cassettes use the same tool; Campagnolo has a different one. With the chain whip pushing forward (clockwise) with one hand, push the lockring removal tool anti-clockwise to undo the lockring.

4. Take note of the order in which the cogs and spacers come off, as the spacer width may vary.
A cable-tie through the middle will ensure that they all stay in the correct order. If there is a spacer installed on the inside of the cassette, make sure you don’t lose it!
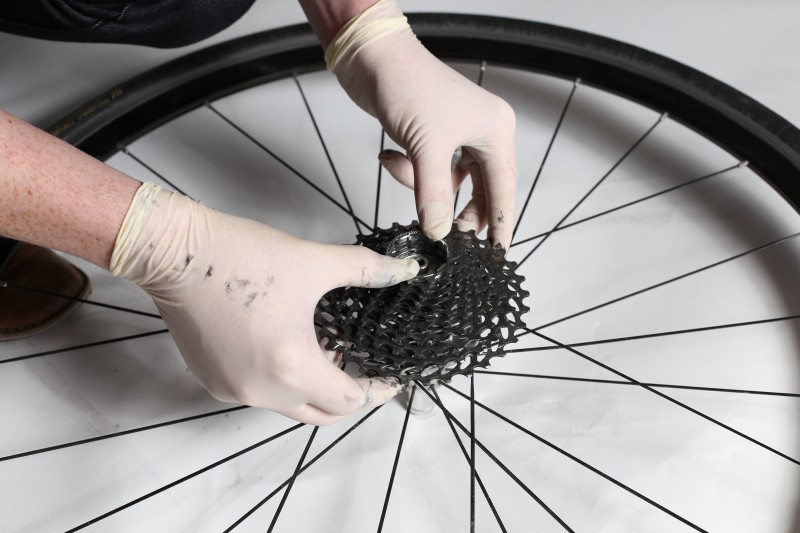
5. Using degreaser and a rag, clean the cogs and spacers.
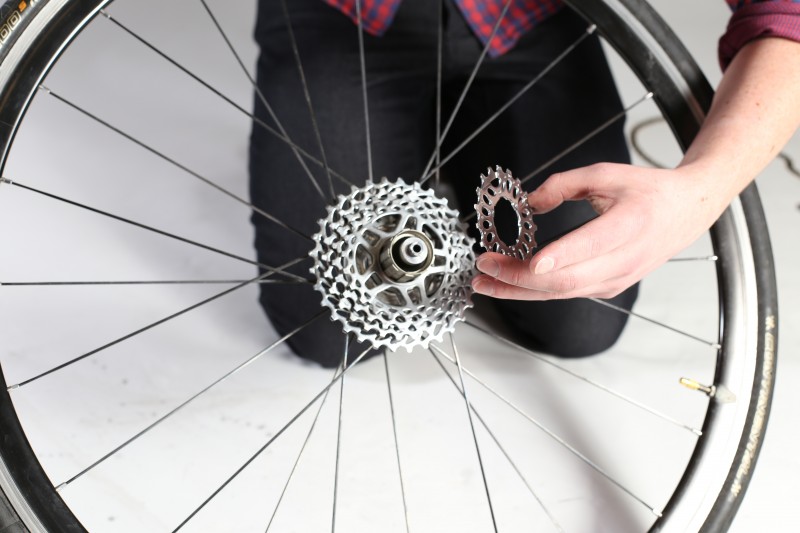
6. Reinstall in the correct order.
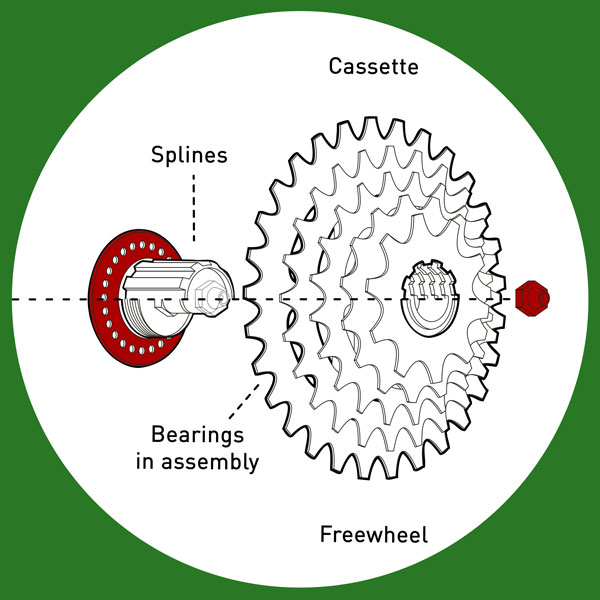
On Shimano-compatible hubs, there is a wider notch on the freewheel spline. Use this as your guide for where to slide the cogs back on. Any markings—such as ratio numbers stamped in the metal—should face out, away from the hub.
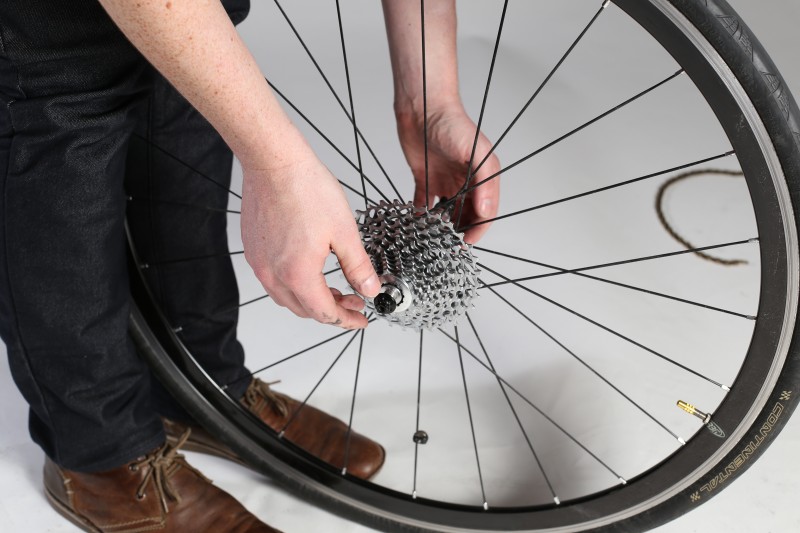
7. When the entire cassette is reinstalled, thread the lockring on.
A dab of grease on the threads is a nice touch, if you’re being diligent. Tighten until firm, following the torque setting indicated if you’ve got the right gadget. If not, think: tighten until there’s a good level of resistance, not until you’re pushing hard with your whole weight down on the tool.
8. Put the quick release skewer back in, and reattach your back wheel.
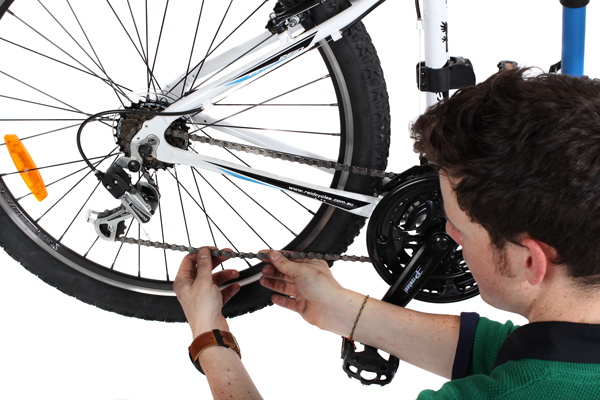
9. Remove the chain from its degreaser bath and slowly run it through a clean rag.
Repeat until it runs cleanly through the rag. Check whether your chain is directional. KMC, SRAM and Campagnolo are non-directional, so can be installed either way. Directional Shimano chains have writing on one side of the links only, and should be installed so the writing is facing out from the bike. If you’re unsure, take it to your friendly local bike shop.
24
10. Thread the chain through your rear derailleur.
It should go to the right of the upper jockey wheel, and to the left of the lower one. Wrap around a chainring at the front, then, with the break in the chain below the chainstay, install the quick-link. Gently backpedal until this link is above the chainstay. Then, push down hard on a pedal to click it shut.
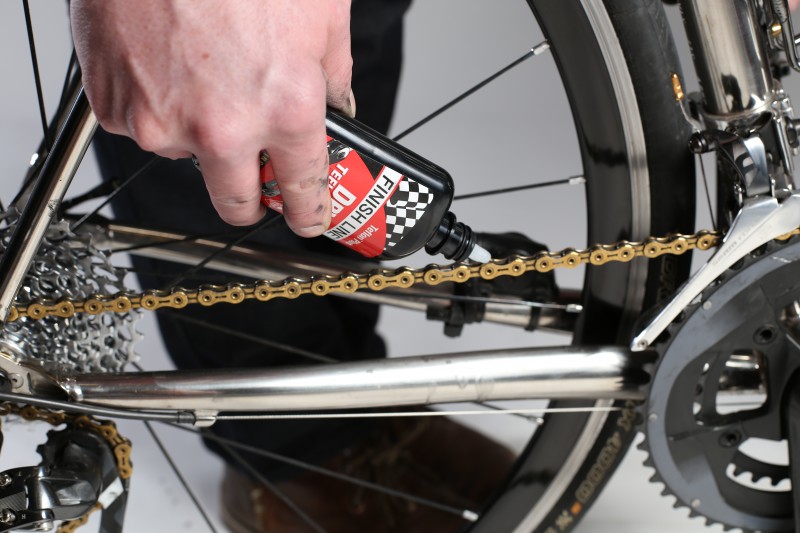
11. Relubricate your chain (about one small drop per link), shift through the gears and then leave to sit for five minutes to allow the lube to penetrate.
Then run the chain through a rag to remove any excess, and you’re good to go!
Ride On content is editorially independent, but is supported financially by members of Bicycle Network. If you enjoy our articles, please consider helping out by becoming a Bicycle Network member.
What a messy, ineffective and inefficient way to do it. Spray can degreaser on the chain? How wasteful. If you’re going to soak it, use a liquid solvent, which you can put in a bottle and precipitate the dirt out of. And whilst you’re at it, soak your cogs. Wipe clean? How do you get the embedded dirt out without scrubbing the chain? Magic? Old toothbrushes cost nothing and are as effective as anything.And what about the tried and true basic method of fling drying the chain against cardboard to impel the dirt out? Or if you’re lucky enough to own a compressor, blow drying it? Rinsing the chain and cogs? Checking for wear before you start, so it’s not wasted effort? 2.5/10. Try again, a bit harder next time.